
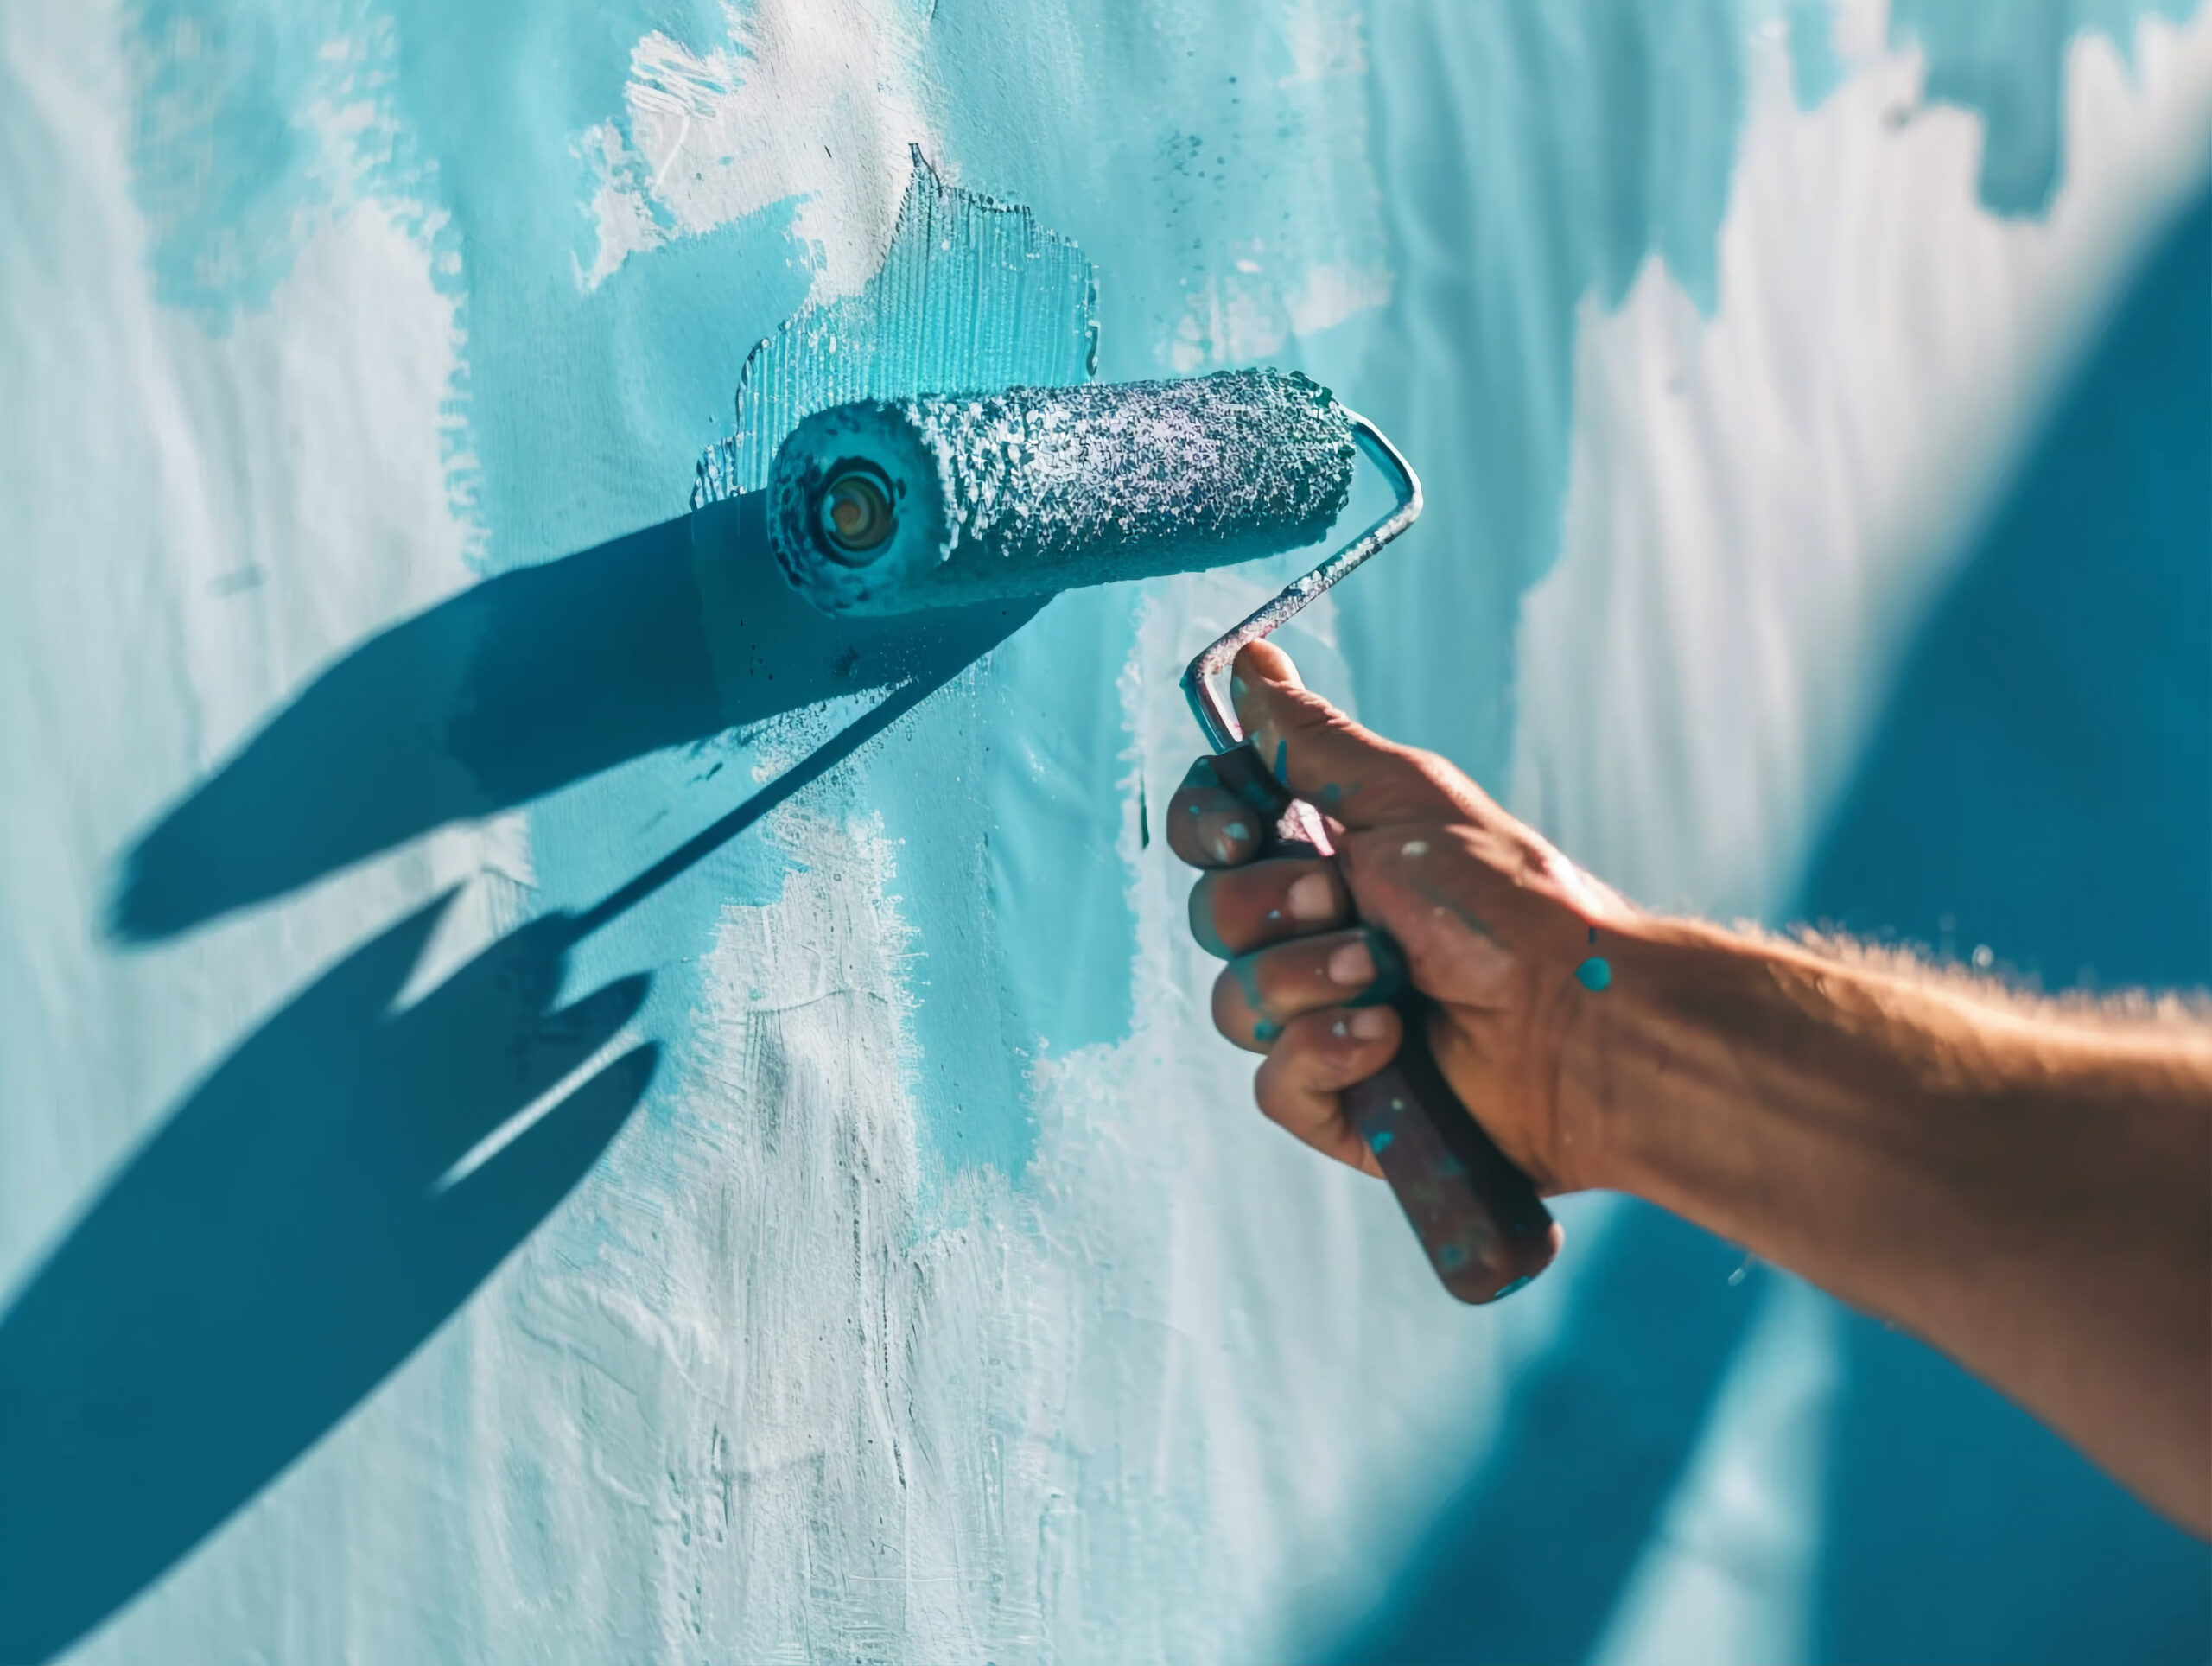
A smooth finish can make an ordinary room feel cleaner, brighter and more carefully maintained. However, getting that result takes more than choosing an attractive color or picking up a quality roller.
For Dandenong homeowners, the result often comes down to what happens before the first coat goes on. Interior Painting works better when surface preparation, suitable products, application technique and drying time are considered together.
Why Does Preparation Matter in Interior Painting?
It is easy to focus on color when planning a painting project, but the condition of the wall underneath can make a bigger difference to the final appearance. Fresh paint will not necessarily hide dents, cracks, old roller marks or poorly repaired holes.
Start by looking closely at the walls in daylight. Small imperfections that are barely noticeable on an old painted surface can stand out once a new coating has been applied.
Dust, grease and loose paint should also be dealt with before painting begins. Depending on the condition of the surface, this may involve cleaning, scraping, filling, sanding or applying a primer.
The preparation required will vary from room to room. A recently painted bedroom may only need light preparation, while an older hallway with several layers of paint may need considerably more work.
Taking extra time at this stage can make Interior Painting easier later because the paint has a cleaner and more stable surface to adhere to.
How Should You Choose Paint for Different Rooms?
There is no single paint finish that suits every room. The best option depends on how much use the room receives, how often the walls are cleaned and the appearance you want to achieve.
Bedrooms generally have less demanding wall surfaces, whereas hallways and family areas can experience regular contact. Kitchens and bathrooms also need finishes that can cope with more frequent cleaning.
The difference between finishes is worth considering before purchasing paint. A flatter finish can give walls a softer appearance, while a higher-sheen product tends to reflect more light and may be easier to wipe clean.
|
Room or Surface |
Common Finish | Why It May Suit the Area | Important Consideration |
| Bedroom walls | Matte or low-sheen | Creates a softer appearance |
Can be less forgiving with frequent washing |
|
Living areas |
Low-sheen or satin | Offers a practical balance | Wall preparation still matters |
| Hallways | Low-sheen or satin | More practical for regular contact |
Imperfections can show under stronger light |
|
Kitchen walls |
Satin or suitable washable finish | Easier to clean | Select a product intended for the surface |
| Bathroom walls | Suitable moisture-resistant finish | Better suited to humid areas |
Ventilation and moisture issues should be addressed |
| Doors and trims | Semi-gloss or enamel | Hard-wearing and easier to clean | Smooth sanding can improve the result |
| Cabinets | Cabinet-specific coating | Designed for repeated handling | Requires careful cleaning and adhesion preparation |
When planning Interior Painting, it is also worth checking the manufacturer’s instructions rather than assuming every paint product can be applied in the same way.
What Should You Know About Interior Paint Colors?
Choosing a color from a small sample can be surprisingly difficult. The shade may look different once it covers a large wall, particularly when the room receives changing levels of natural light.
A north-facing room, a darker hallway and a bright living room can all make the same color appear different. Artificial lighting can change it again in the evening.
For this reason, sample patches are useful. Paint a small section of the wall and leave it there for a day or two. Look at it in the morning, afternoon and evening before making a final decision.
Furniture should also be considered. Flooring, curtains, cabinetry and large pieces of furniture can influence how a wall color looks.
Popular neutral shades may work well in many homes, but that does not mean every neutral will suit every room. Some have warm undertones, while others lean towards grey, beige or cooler shades.
Good Interior Painting planning therefore involves looking at the room as a whole rather than selecting a colour in isolation.
Which Preparation Steps Help Create a Smooth Finish?
A smooth wall usually begins with a smooth substrate. If the wall contains small holes or cracks, these should be repaired before the finish coats are applied.
After filling, the repaired areas need to be sanded so that the transition between the repair and surrounding wall is not obvious. Running a hand lightly over the area can sometimes reveal imperfections that are difficult to see visually.
Glossy surfaces may also require light sanding to improve adhesion. Stains can need specific treatment rather than simply being covered with another layer of ordinary wall paint.
Primer can be useful on repaired areas, bare surfaces and substrates with uneven absorption. It can also help when making a substantial color change.
The goal of Interior Painting preparation is not to make the wall look perfect before painting. It is to give the coating a clean, even and suitable surface to work with.
How Can You Avoid Visible Brush and Roller Marks?
Application technique has a noticeable effect on the finished wall. A roller that is overloaded with paint can leave heavy texture, while one carrying too little paint may produce patchy coverage.
Work in manageable sections and avoid repeatedly going back over paint that has started to dry. This is particularly important around windows, doors and corners where different application methods meet.
Brushes are useful for cutting in around edges and detailed areas. Rollers are generally more efficient across larger wall sections.
Keeping a wet edge can help adjoining areas blend more evenly. Rather than stopping in the middle of a wall, work systematically so that one section can be connected to the next while the coating is still workable.
With Interior Painting, patience often produces a better result than trying to cover a large area as quickly as possible.
Is Two-Coat Interior Painting Always Necessary?
Two coats are commonly used when a consistent finish is required, but the exact number depends on the product, surface and color being covered.
For example, painting a pale color over a similar existing shade may require less coverage than changing a dark wall to a much lighter color.
Trying to achieve full coverage with one heavy coat can create its own problems. Excess paint may lead to runs, uneven texture or longer drying times.
Instead, follow the coating manufacturer’s instructions regarding coverage, drying and recoating. Allowing the first coat to dry properly before applying the next one is important.
The same principle applies when working with different surfaces. Doors, trims and cabinetry may need different products and preparation methods from ordinary walls.
What Should You Check Before Hiring Interior Painters?
The cheapest quote is not always the easiest one to compare with another. The amount of preparation included, the products being used and the surfaces covered can all affect the final price.
Ask for the work to be clearly described in writing. A useful quote should identify what is being painted and whether preparation, repairs, priming, multiple coats and clean-up are included.
For Victorian homeowners, Consumer Affairs Victoria provides useful advice on getting painting quotes, including comparing quotes, checking business details and understanding what a quote covers.
It is also worth checking whether ceilings, doors, skirting boards and trims form part of the proposed work. These details can make a substantial difference to the overall scope.
For Victorian homeowners, Consumer Affairs Victoria’s home improvement guidance provides useful information about contracts, quotes and working with home improvement providers.
This is particularly relevant when arranging larger Interior Painting projects, where a written scope can help both parties understand what has been agreed.
What Safety Issues Should Be Considered During Interior Painting?
Painting indoors requires sensible preparation. Good airflow can help reduce the build-up of paint fumes, while product labels should always be followed regarding ventilation, protective equipment and drying times.
Furniture and flooring should be protected before work begins. Paint splashes are much easier to prevent than remove.
Older homes also require additional care. If an older property contains old layers of paint, sanding or disturbing those coatings may create a lead-related risk. EPA Victoria provides guidance about lead hazards associated with older homes and paint.
Moisture problems should also be investigated before repainting. A wall with recurring dampness, mold or water staining may need the underlying problem addressed first.
Painting over a moisture issue may temporarily improve the appearance, but the problem can return and damage the new coating.
Good Interior Painting practices therefore involve looking beyond the color and considering the condition of the room itself.
When Is Professional Interior Painting Worth Considering?
Painting one small room can be manageable for a homeowner who has the time and equipment to prepare the surfaces properly. Larger projects can become more demanding, especially when several rooms need attention at once.
Professional interior painters can be useful when walls need extensive preparation or when a consistent finish is required across multiple rooms.
This can be particularly helpful where the project includes:
- Several rooms, ceilings, doors or trims that need a consistent finish
- Walls with extensive filling, sanding or previous coating issues
- Significant color changes requiring careful preparation
- Cabinetry or other detailed surfaces
- A fixed completion timeframe
Experience also matters when working around corners, windows, built-in storage and other areas where small mistakes can become highly visible.
For homeowners arranging Interior Painting, having the preparation and application handled systematically can make the project easier to manage.
How Can You Make Interior Painting Last Longer?
A good-looking finish should also be practical for everyday life. Once the paint has properly cured, walls can be cleaned according to the coating manufacturer’s recommendations.
Avoid harsh cleaning products unless they are specifically suitable for the surface. Aggressive scrubbing can affect the sheen or damage the coating.
High-contact areas such as hallways and around light switches may need more frequent attention than bedrooms.
Cabinetry is another area where the coating system matters. Kitchen and storage cabinets are handled frequently, so ordinary wall paint may not provide the durability required.
If cabinets are included in a broader repainting project, they should be prepared and coated with products intended for that type of surface.
What Is the Best Way to Plan Interior Painting?
A successful project does not have to be complicated, but it does need some thought before the work begins.
Start with the condition of the surfaces. Decide which areas actually need painting, identify repairs and consider whether the existing color should be retained or changed.
Next, choose the finish based on how each room is used. Once the paint type and color have been selected, make sure the required preparation materials, rollers, brushes and protective coverings are ready.
Do not overlook drying and curing time. A project can take longer than expected when several coats are required, particularly if the weather or indoor conditions affect drying.
For Interior Painting, allowing enough time for every stage is generally more useful than trying to finish the entire job in one day.
Conclusion
A smooth finish is mainly the result of doing the basic things properly. Clean surfaces, careful repairs, suitable paint, controlled application and enough drying time all have a part to play.
For Dandenong homeowners, Interior Painting should be approached according to the condition and purpose of each room rather than treating every surface in exactly the same way.
If your home needs a fresh, carefully prepared finish, Get a Quote and discuss your painting requirements with Prime Vision Painting.
Frequently Asked Questions
1. How many coats are needed for Interior Painting?
Two finish coats are commonly used when consistent coverage is required, although the actual number depends on the existing color, surface condition and paint manufacturer’s instructions.
2. How should I choose interior paint colors?
Test sample colors directly on the wall and view them under different lighting conditions. Also consider flooring, furniture, cabinetry and colors used in adjoining rooms.
3. Does every wall need primer before painting?
Not necessarily. Primer can be particularly useful for bare surfaces, repaired areas, stains and surfaces with uneven absorption. The existing coating and manufacturer’s recommendations should be considered.
4. Which paint finish is suitable for busy areas?
Low-sheen and satin finishes can be practical for areas such as hallways and living spaces because they offer a balance between appearance and cleanability. The correct choice depends on the room and product.
5. Can cabinets be painted during the same project?
Yes. Cabinets can be included, but they require different preparation and suitable cabinet coatings. Cleaning, sanding, adhesion and curing are important for a durable result.